Did you know that mechanical pencils predate wooden pencils? Before people figured out how to encase graphite in wood, refillable lead holders were used as the world’s first pencils. Five centuries of refinement and innovation later, the world is now filled with a fantastic variety of fun and functional mechanical pencils to choose from.
In this guide, we’ll explore the basics of what mechanical pencils are, why you should use them, how to use them, and how to troubleshoot the most common mechanical pencil problems. While we don’t recommend specific mechanical pencils in this guide, you can browse our Best Mechanical Pencils guide to see our top choices.
Unlike wooden pencils that need to be sharpened in order to expose more graphite, mechanical pencils use a mechanism like a push button to extend the lead. Mechanical pencil leads come in a variety of widths, with 0.5 mm and 0.7 mm being the most common.
Some mechanical pencils use leads that are 2.0 mm or wider, but these are generally categorized separately as “lead holders” and are typically used by artists and designers.
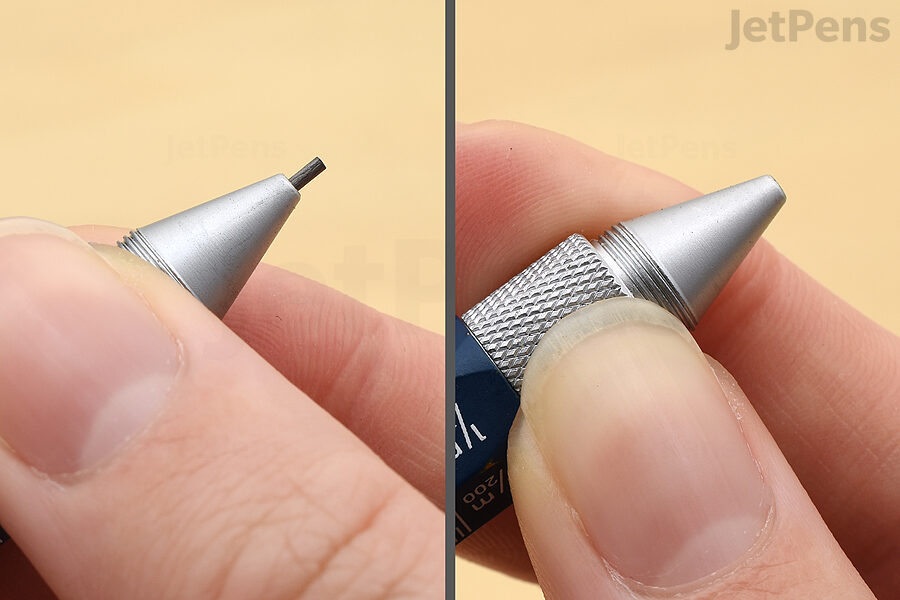
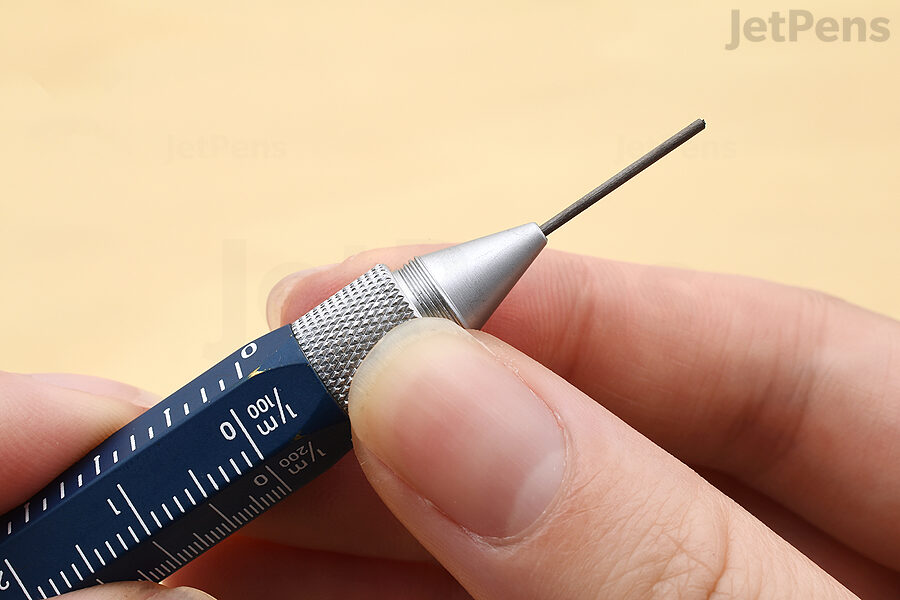
Another subtype of mechanical pencil that is often categorized separately is the drafting pencil. Drafting pencils are mechanical pencils with industrial features like durable metal bodies, knurled grip sections, and lead grade indicators.
In the table below, we list the advantages and disadvantages to using mechanical pencils instead of wooden pencils or pens:
Advantages of Mechanical Pencils versus Wooden Pencils | Advantages of Mechanical Pencils versus Pens |
---|---|
|
|
Disadvantages of Mechanical Pencils versus Wooden Pencils | Disadvantages of Mechanical Pencils versus Pens |
|
|
All mechanical pencils use a mechanism that lets you extend the lead from the tip as it wears down. Some of the most popular extension mechanisms are listed below.
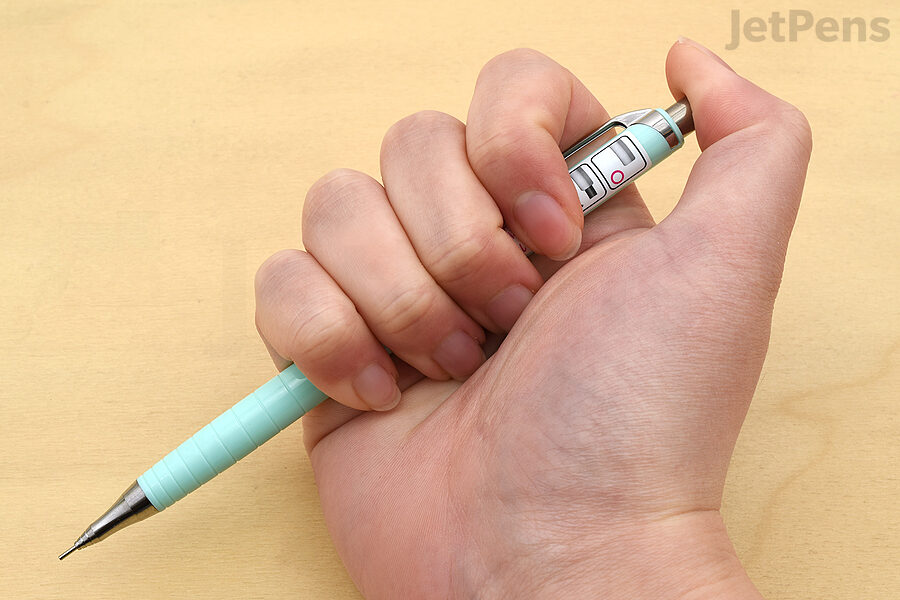
Push Button: Most mechanical pencils have a button that extends a set amount of lead every time you push it. This button is usually located at the top of the pencil (where the eraser is located), but some pencils require you to push down on the clip or a special side button.
Shaker: A shaker mechanical pencil has a clever mechanism that extends the lead simply by shaking the pencil up and down. A sliding weight inside the pencil strikes a button that extends the lead. Nearly every shaker pencil also includes a conventional push button that you can use instead.
Twist: A few mechanical pencils have twist mechanisms that extend the lead by twisting the pencil’s nose cone or a knob at the end of the pencil. Twist pencils let you decide exactly how much lead you want to extend at a time, but most can only hold one lead inside.
Automatic: Like the name suggests, these mechanical pencils extend the lead automatically. Typically, this occurs whenever the pencil tip is lifted from the writing surface. Automatic mechanisms are rare and are generally found on high end pencils.
It’s important to familiarize yourself with how to retract the lead from a mechanical pencil. Extending too much lead at once and attempting to use the pencil can cause the lead to snap. And when it’s time to put your supplies away, extended lead can leave graphite marks on or even poke a hole through your pencil case.
For push button and shaker mechanical pencils: Hold the push button down to open the pencil’s clutch mechanism and press the lead back into the tip.
For twist mechanical pencils: Twist the pencil’s knob or nose cone in the opposite direction that you twist it to extend the lead. Some twist pencils will retract the lead for you, but others will need you to push the lead back into the tip itself.
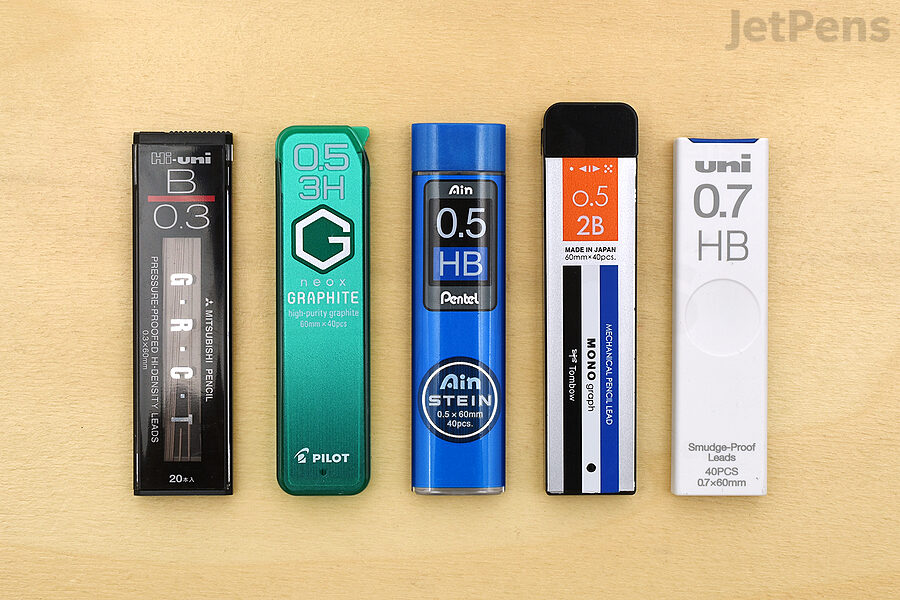
The next thing to consider is lead grade, which determines how soft and dark the lead is. By far the most commonly used grade is HB, which is equivalent to an American #2 pencil. If you want something a little darker and smoother, we recommend using B or 2B lead. We generally don’t suggest using H leads for writing because they leave lighter marks and can feel scratchy. However, they’re good options for smear-prone writers and artists who want to create easily erasable sketches. As with B leads, we recommend sticking with grades on the lower end of the scale, like H or 2H.
Finally, lead brand has much less impact on your writing experience than lead size and grade, but it does make a difference. You don’t need to match brands (that is, if you have a Uni Kuru Toga, you aren’t restricted to Uni Lead), but companies formulate their leads differently and you may find that you have a preference for one brand over another. You can read our guide on the Best Mechanical Pencil Leads to see how they compare.
Most push button and shaker mechanical pencils are refilled the same way.
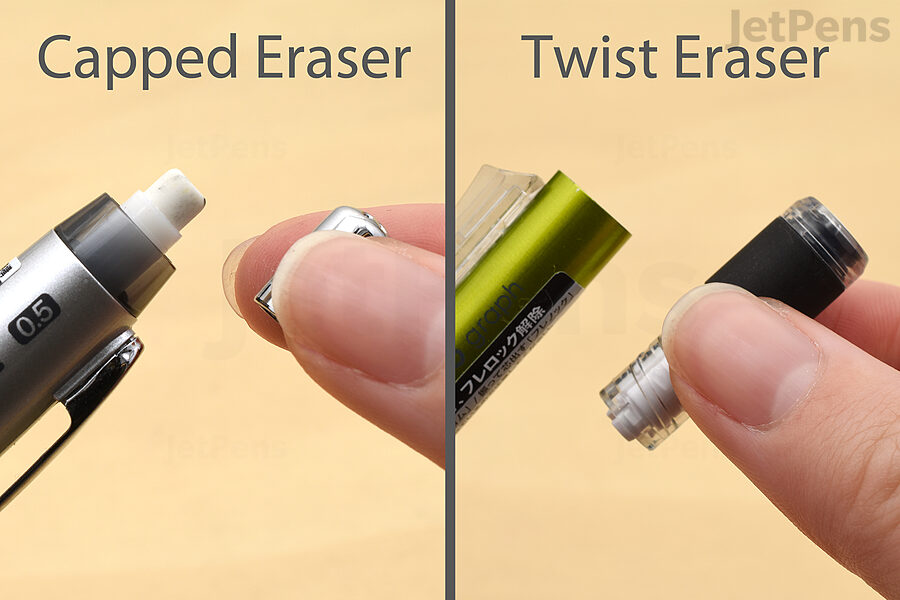
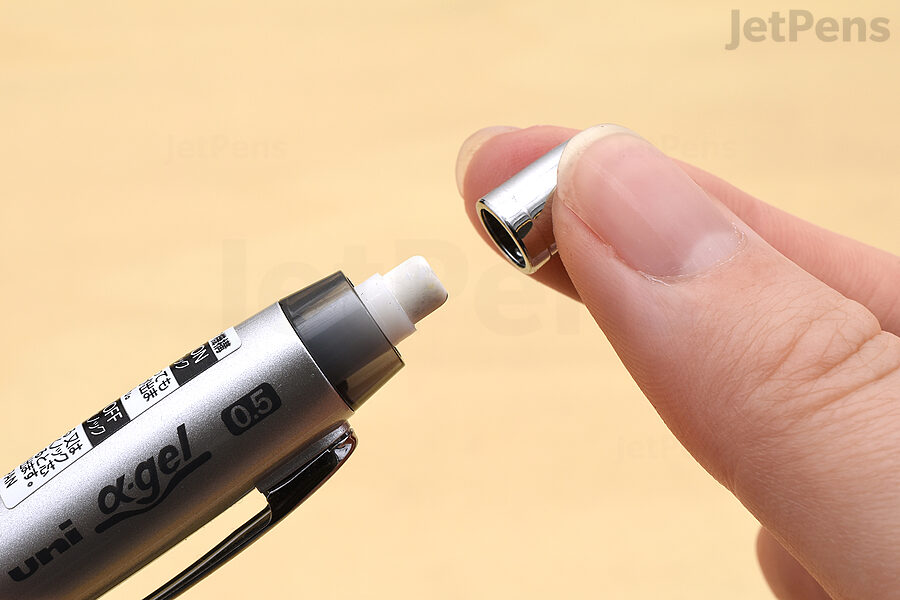
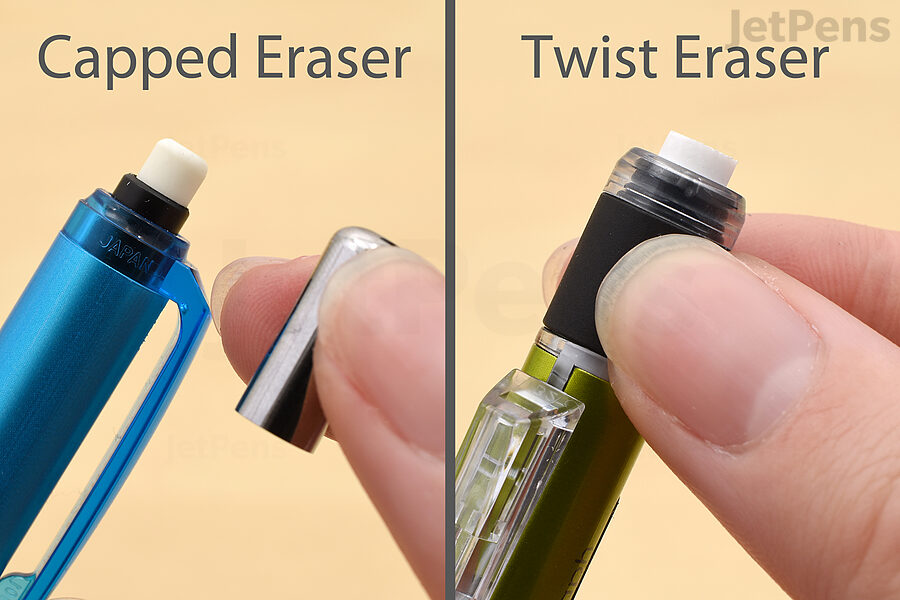
1. Determine what is covering the opening of the internal lead tube. This could be an eraser and an eraser cap, just an eraser, or a single unit with an eraser inside of it.
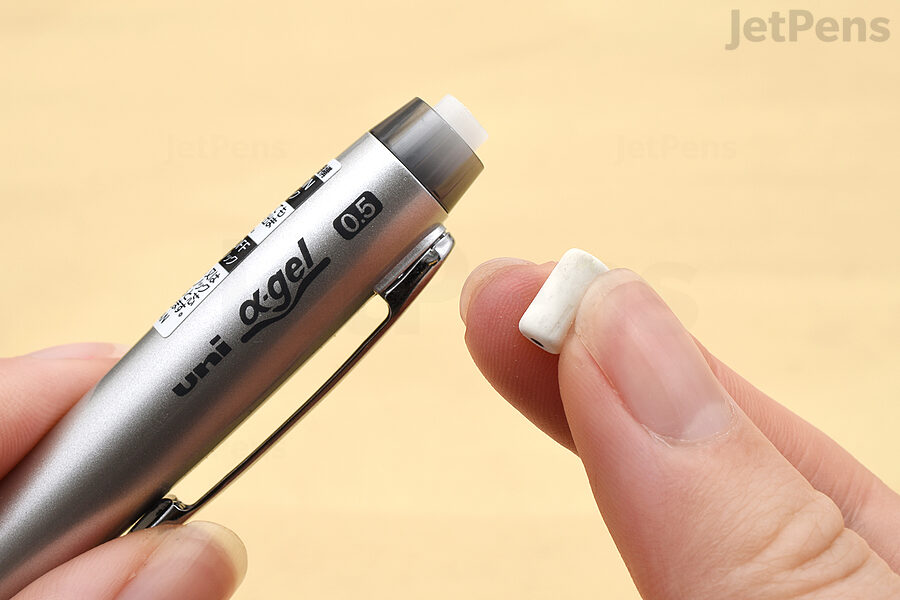
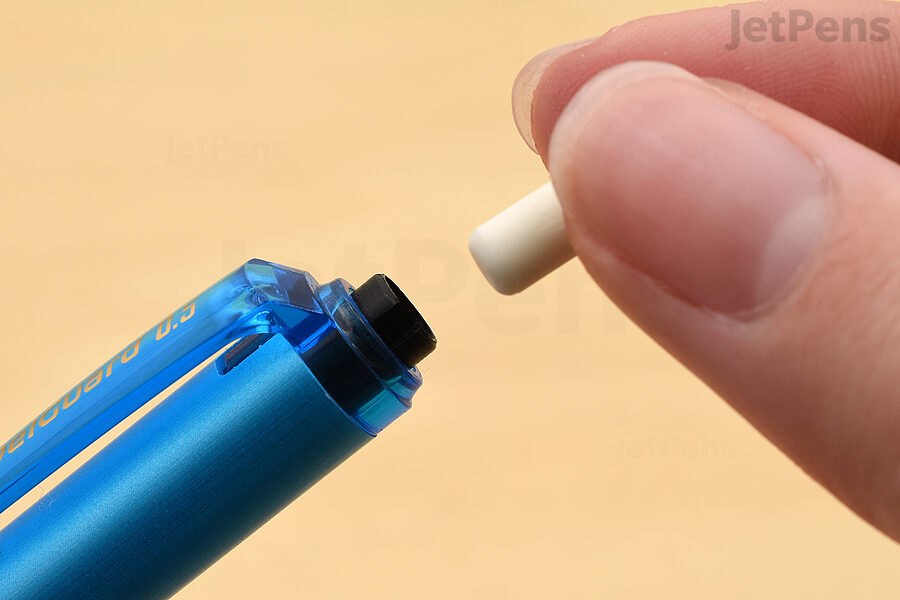
2. Remove the cover from the pencil completely. If your pencil has an eraser beneath the cover, remove the eraser as well.
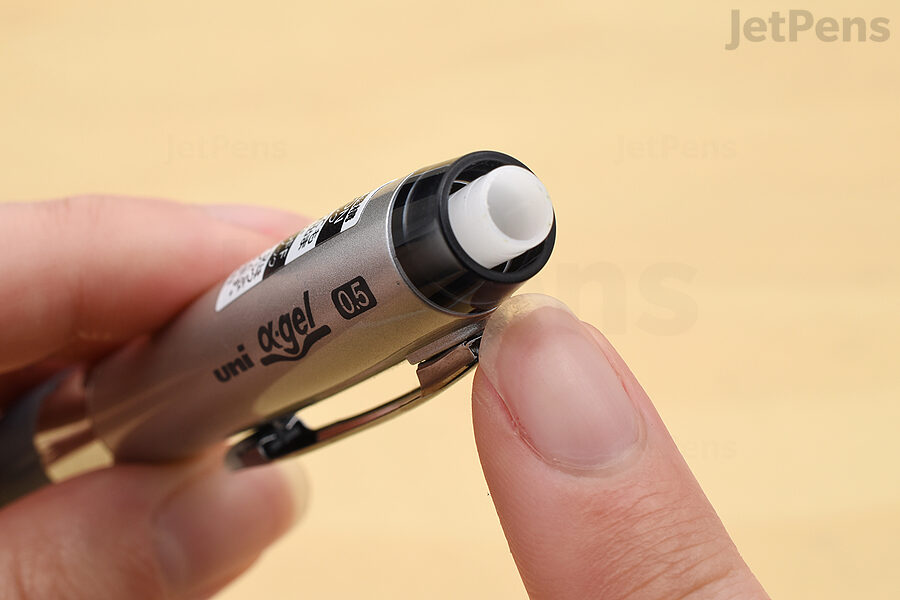
3. Locate the internal lead tube. This may be a plastic or metal tube inside the barrel of the pencil.
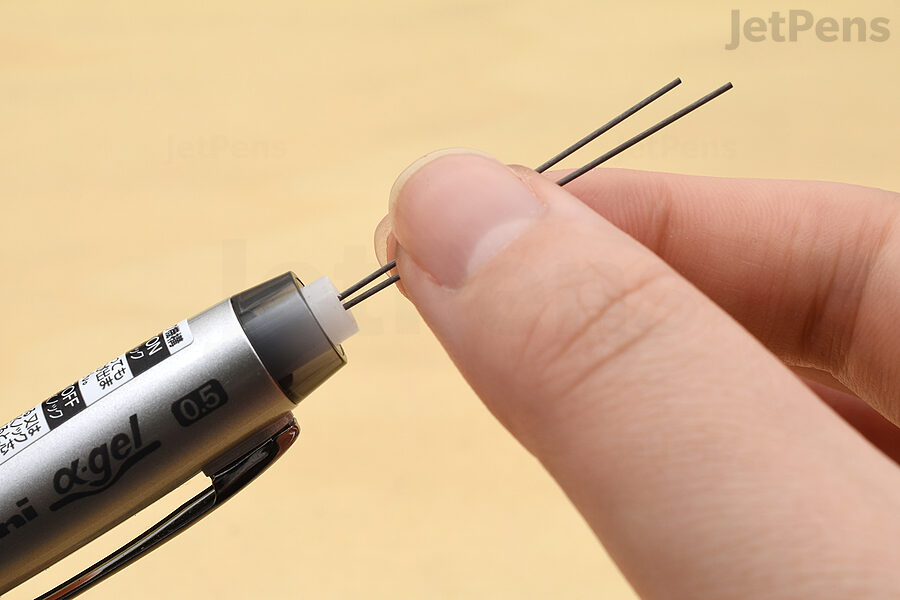
4. Drop three to five leads into the tube. Don’t fill the pencil with more leads: it’s tempting to pack them in, but you’ll wind up with a lead jam.
5. Put the cover back in place. For pencils with erasers and caps, be sure to put the eraser on first.
6. Click the push button until the new lead is extended and pushes out any remaining old lead.
Unlike other pencils, most twist mechanical pencils are refilled through the tip of the pencil.
1. Pull any remaining old lead out of the tip of the pencil.
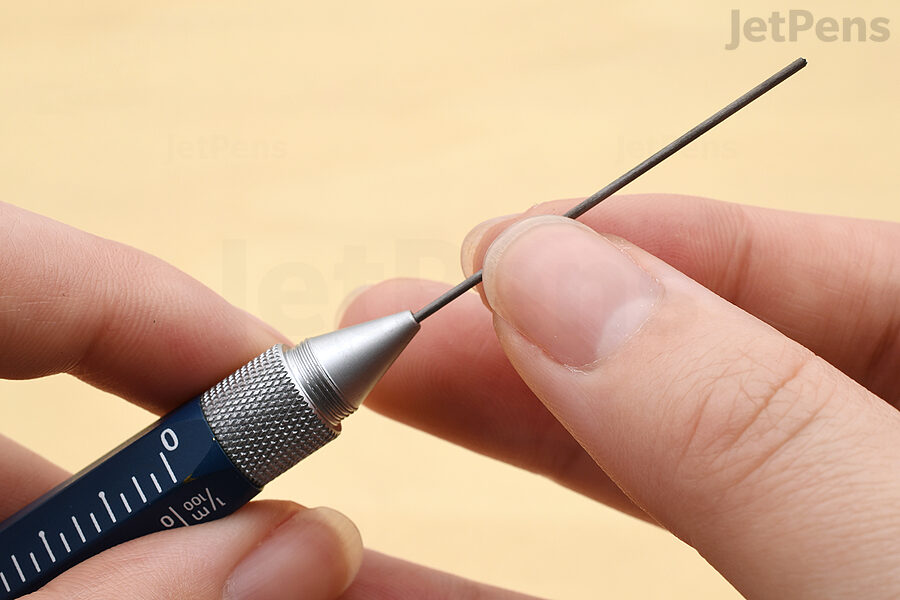
2. Insert the new lead into the tip of the pencil.
3. For some pencils, you will need to press the new lead into the tip until you feel it slide securely into the pencil’s inner clutch mechanism.
4. Retract the new lead back into the pencil by twisting the nose cone or knob.
If you have a multi pen with a mechanical pencil component, the refilling instructions are slightly more complicated. Check out our guide on How to Refill Lead for Multi Pens for step by step instructions.
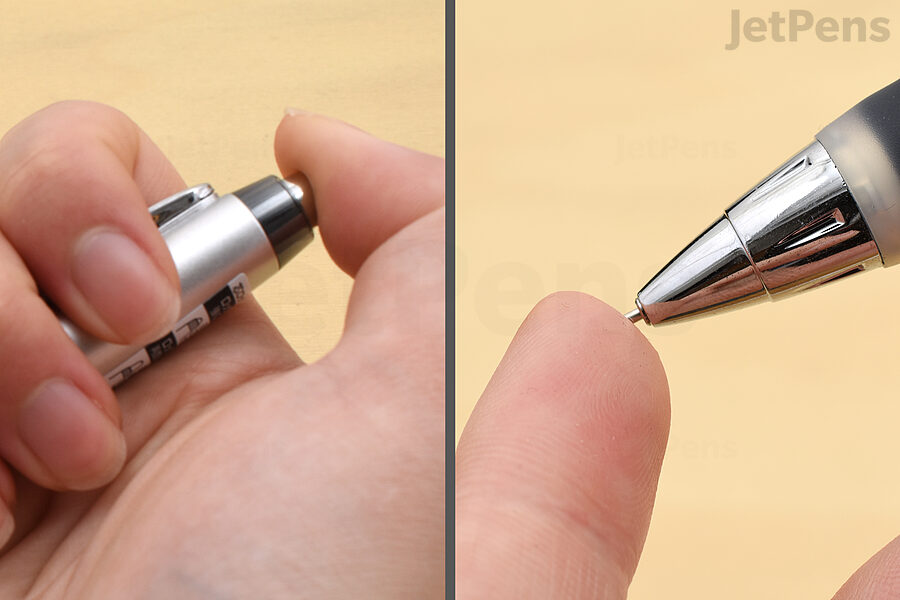
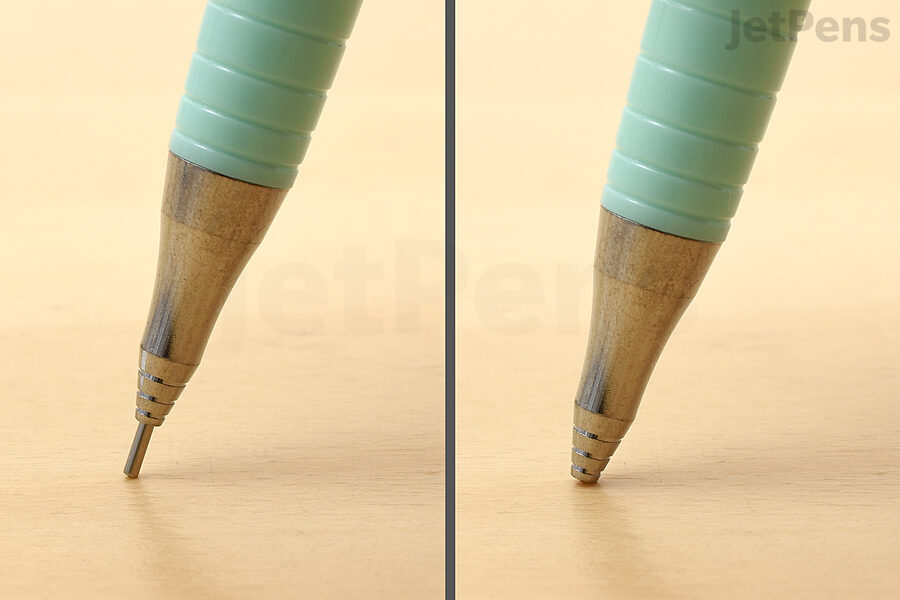
Some pencils have retractable lead sleeves that allow the lead sleeve to be protected by the nose cone when the pencil is not in use. This prevents the lead sleeve from becoming bent, and it also protects your pocket or pencil case from getting poked. Most retractable lead sleeves can be retracted using the following steps.
1. Hold down the pencil’s push button.
2. Press the tip of the lead sleeve against your finger or a hard surface until it sinks into the nose cone.
3. Release the push button while still pressing the tip of the lead sleeve. The tip will remain inside the nose cone.
The lead sleeve will pop out automatically the next time you click the push button.
Below, we list common issues experienced by mechanical pencil users and how to fix them.
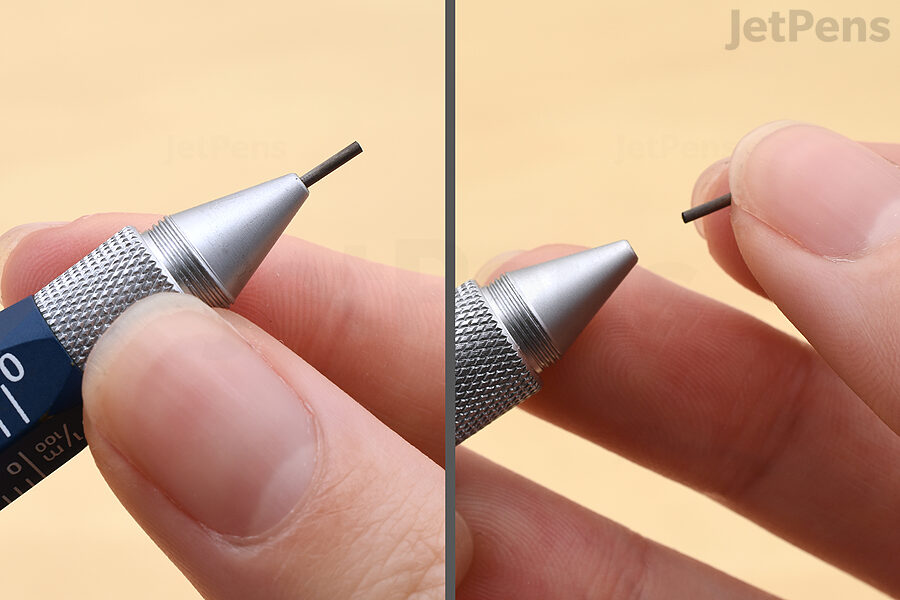
If the lead keeps sliding back into the pencil when you press the tip down on the paper, the available lead is too short and needs to be removed. The easiest way to do this is to have another piece of lead in the internal lead tube. Click the push button until the new lead pushes out the old lead. You can also use your fingers to remove the old lead directly from the nose cone. You may have to repeat this process if a piece of lead inside the pencil has broken into multiple small pieces.
If the lead won’t extend at all when you press down on the push button, try the following solutions:
If the push button works but the lead keeps breaking as you extend it, your pencil might be suffering from a partial lead jam, which occurs when a tiny piece of lead is stuck in the mechanism. You can follow the same instructions used to clear lead jams to fix a partial lead jam.
If it’s not a lead jam, then it may be that the pencil’s tip sleeve is slightly bent. You can try to straighten it, but you’ll probably need to replace the pencil.
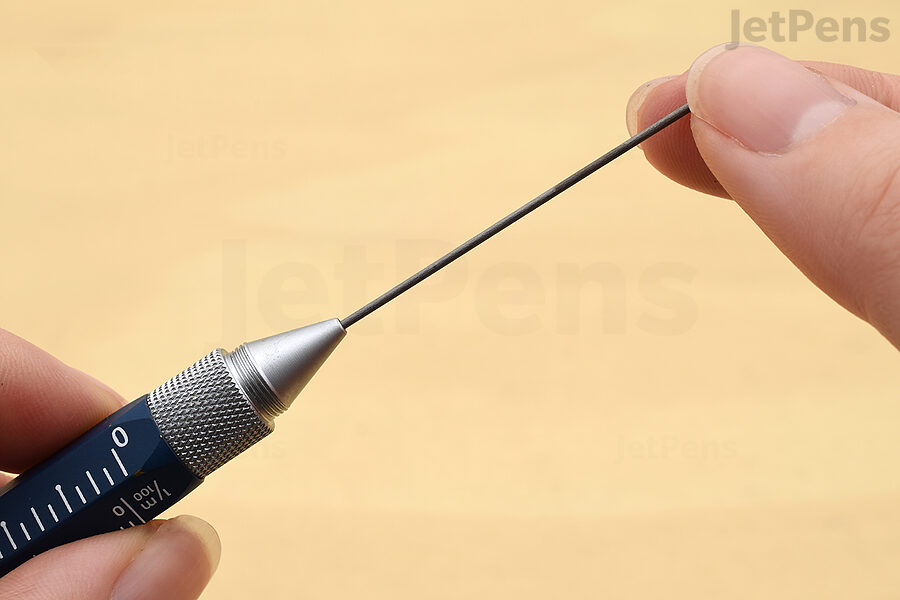
If the lead keeps breaking when you write, check to see how much lead you typically extend at once first. While more lead extended means that you can write for longer periods of time, it also breaks more easily. Try to extend only 1-2 mm of lead at a time.
Otherwise, try one of these suggestions:
Mechanical pencils made in the early- to mid-20th century typically used 0.9 mm or 1.1 mm leads. 1.1 mm leads are sometimes labeled as 1.15 mm or 1.18 mm, but they’re interchangeable. Similarly, 1.0 mm leads can typically be used instead of 0.9 mm leads, and vice versa. One trick to help you determine what size lead you need is to insert a straightened paper clip into the pencil’s tip. A standard jumbo (1 3/4”) paperclip is just the right size to fit into a 1.1 mm pencil tip, and a standard no. 1 (1 3/8”) paper clip will fit in a 0.9 mm pencil tip.
Mechanical pencils made from the mid-20th century onward can use a wide variety of lead sizes, but the most common are 0.5 mm and 0.7 mm. If you have both lead sizes on hand, we recommend testing the 0.5 mm leads first. Putting 0.5 mm lead into a 0.7 mm pencil is less likely to cause problems, as the lead will usually fall out neatly. Putting 0.7 mm lead into a 0.5 mm mechanical pencil, on the other hand, can cause a lead jam.
Now that you know how to use a mechanical pencil and troubleshoot their most common issues, be sure to take a look at our guide to the Best Mechanical Pencils. We share some of our top recommendations, plus share some advice on how to choose the mechanical pencil that’s right for you.
Do you have any mechanical pencil related questions that weren’t answered here? Feel free to contact us or leave a comment below!